
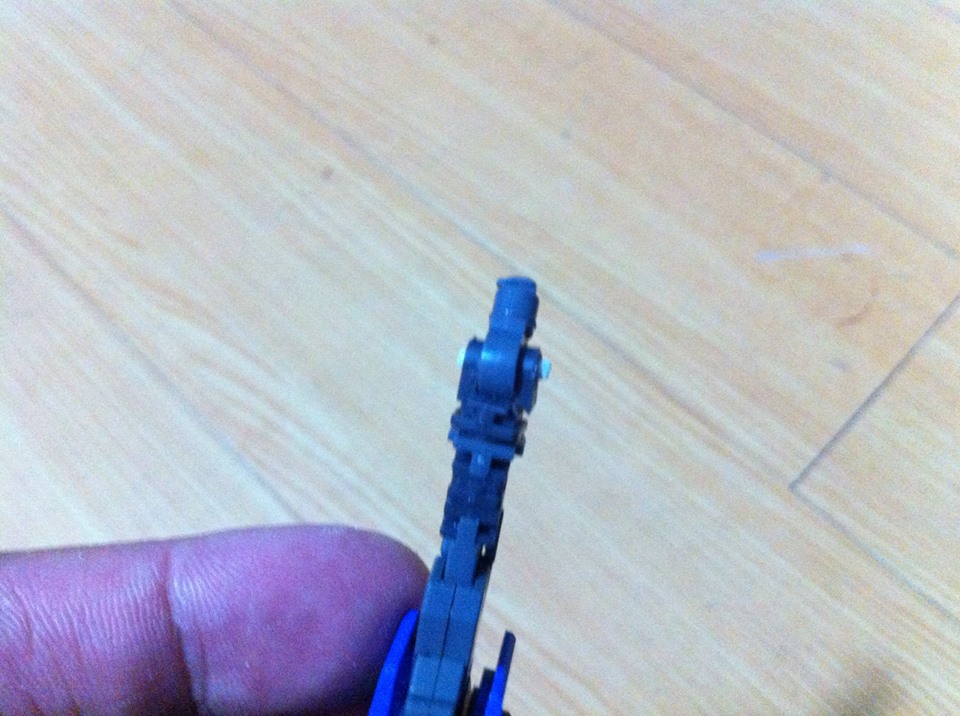
Actually, this happened to my kit when I was doing a photoshoot and playing with his poses. I was going for an aerial action pose and suddenly, *snap!* >o<
The leg joint broke clean off the RG internal frame. I noticed that RG inner frames are not completely made up of the same material. It consists of possibly (in my theory) ABS plastic and PC or the same stuff Bandai use for polycaps in their HG kits.
Having this information, I carefully looked at the broken piece and found out that it is part of the ABS plastic joint. And that gives me an idea on how to repair the damage.
So here's how we'll handle this issue. You'll need these
Hobby knife (Xacto blade)
pin vise(smallest diameter that would fit the joint)
side cutter
pliers
file/s
super glue(or plastic cement if you prefer)
extra runners or sprues

To start off, examine the broken joint and see that there is a hole where we can fit a piece of plastic rod(from the extra runner or sprue).

STEP 1: File down the extra runner or sprue piece to the diameter of the same size as the hole its going to be fitted in.


STEP 2: Using the pin vise, drill a hole on the leg joint part and the broken piece.


Make sure that hole will cleanly match. This will help with the plastic brace.

STEP 3: Cut the plastic rod off the extra runner or sprue.

This is how it should go.

TEST FIT: Assemble the leg joint having the plastic rod inside the hole we drilled.
Cut the excess plastic from the rod that's sticking out of the RG inner frame. You have the option to use super glue on the plastic brace to make it sturdier. Gluing it will give you assurance that this accidental damage will never hit your kit again.

TEST FIT: Test fit the leg armor and see if it fits snugly. Make adjustments and file down a bit the plastic rod if it's still hindering with the leg armor.

Reassemble the lower inner frame and see if the repair can stand and hold. Also check the articulation of the joint and see if it's having a hard time moving. Do make adjustments and file down the joint to make some clearance.

Here's how the kit looks after the repair. The kit that was repaired is on the right.

Now here's a picture showing how the repair still manage to keep the articulation of the kit. Do take note that we repaired the right leg joint of it.

And that's how I fixed that accidental damage :D Hope this would help you in case this happens to your kits.
Any questions or other issues you'd like me to address, you may message me thru:
Facebook: https://www.facebook.com/aro9nes
email: andrewnaynes@gmail.com
Until then... See ya!!!!
No comments:
Post a Comment