
One note for you guys, before doing this, I would like to point out that for every custom you do, DON'T be afraid to destroy or ruin your kit, because you'll make it better after. And if you're afraid that you can't make it better, well, that's why this blog was created. To help you guys throughout the modification.
So moving forward, let's start this..
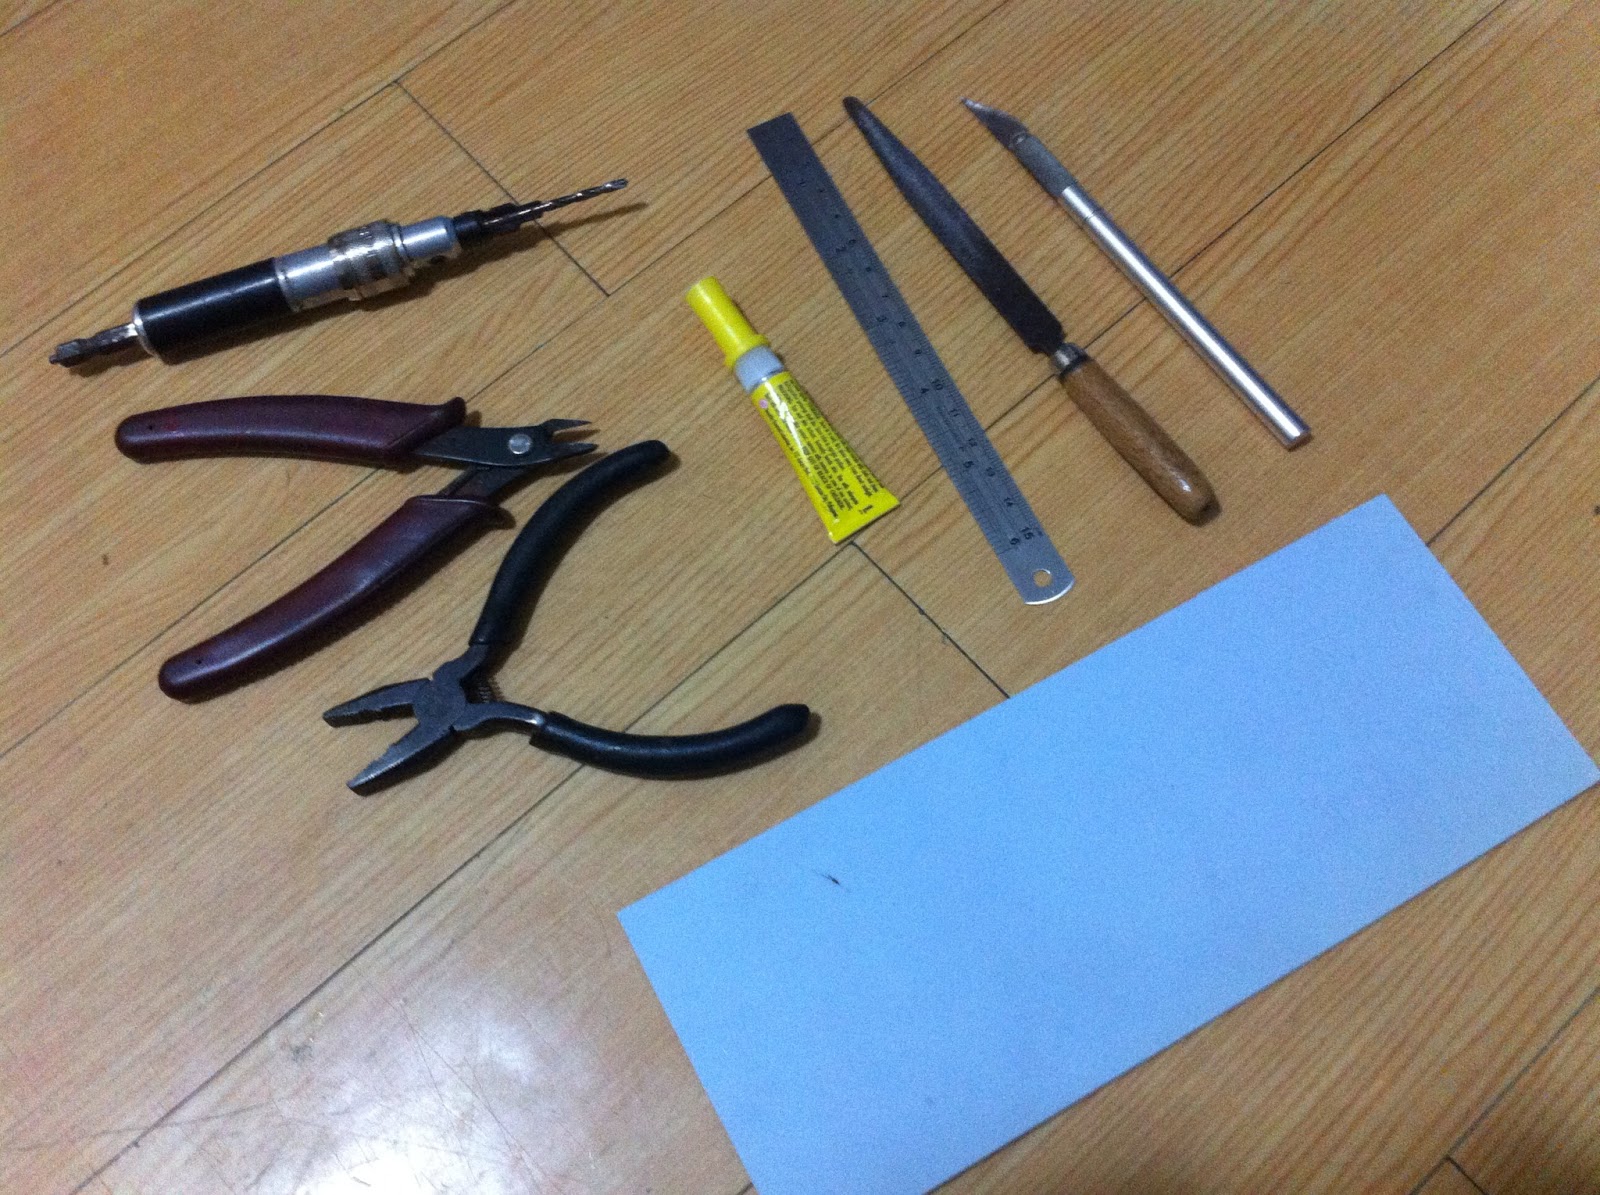
here's what you need:
Hobby knife (X-acto knife)
File
ruler
Super Glue (plastic cement, if you prefer)
Side cutter
Pliers (in case needed)
pin vise (drill bit diameter, should be the same diameter as Bandai's pegs)
plastic plates (used as spacers to make thing snugly fit)
STEP 1 : Gathering Materials. From the runner/sprue A2 of HGBC balden arms, cut out or remove these pieces out to assemble the elbow joint we'll use.

Also cut out these other ball joint pieces from the A1 runner/sprue for the shoulder joint.

STEP 2 : Disassembling. Disassemble the arms from the main body of your kit.

This is how the new elbow joint would fit in the arm.


STEP 3 : Shoulder modification. We will start customizing the shoulder joint to fit the elbow joint. First, cut the long peg by disassembling the shoulder part.

Once done, reassemble and glue the parts together. File the excess plastic where the peg used to be connected.


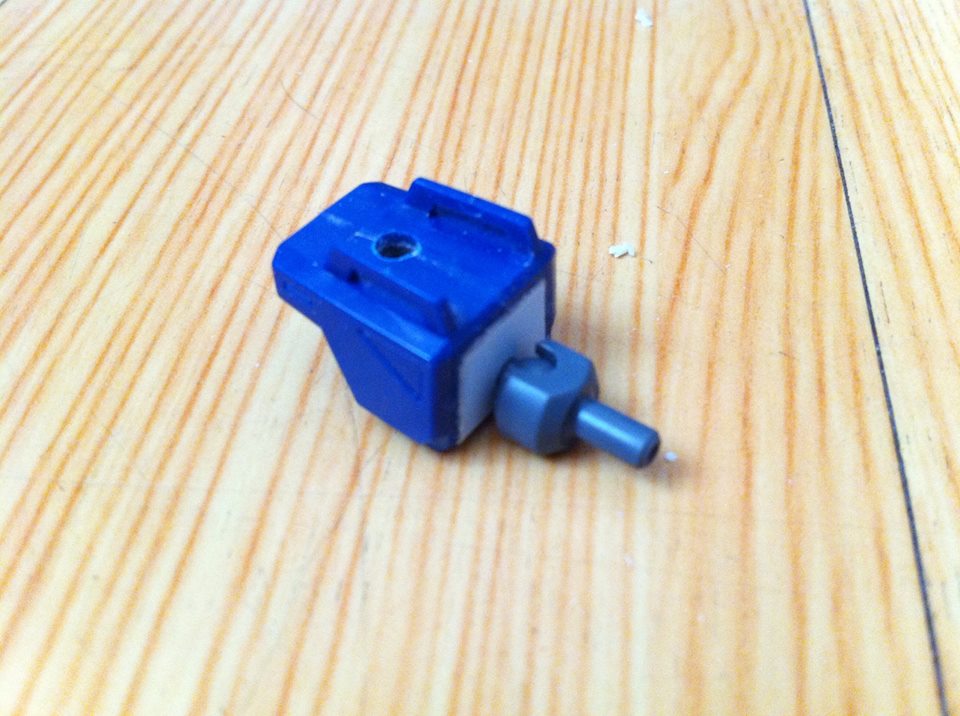
Now cut the smaller diameter peg of the previous long peg of the shoulder joint. Then glue it to the shoulder joint.


Here's a comparison of the shoulder custom, left and right, before and after.

This is how they should look after the work is done form both left and right shoulders.

STEP 4 : Bicep/arm Modification. We'll work on the biceps or the arm it self. For old HG kits, this parts is different from one another. With this HG 105 Dagger, the inside is kind of molded with a circular pattern. What we need to do is trim those circular in linings and make it square. Use you hobby knife.


Comparison of the left and right as before and after.


Since the elbow joint has a circular joint, we need to make room for the biceps/arms for it to fit in snugly. Using your hobby knife, trim a rectangular portion at the back of the bicep/arm. Do file it down for a clean and smooth finish.


This is how it should look after trimming.

TEST FIT : Test fit the elbow joint to the bicep/arms. It should fit. Don't worry if it's a bit loose, Use a plastic plate as a spacer to make it fit.

Continuing the assemble, this is how the whole is to be assembled.


Notice that the elbow joint has a peg in it? Well we don't have any use for it so we'll cut it off to fit the fore arm.


STEP 5 : Fore arm modification. Start by trimming the pegs and peg holes inside the fore arm.


Layout the elbow joint inside to see how the joint would articulate and if its is free to move around.

When satisfied with the positioning of the elbow and fore arm. Start gluing them together.


TEST FIT : Then start reassembling the whole arm. Connect the arm to the main body.

Test the new elbow articulation. do make some poses as well.


Now the arm can do so much compared to its original configuration. It's easier to do poses and poses becomes more live like just like the new HG kits being released by Bandai.
But wait, there's more... We're not done yet. We still have the shoulder to modify.
STEP 6 : Shoulder joint modification. Laying out the parts for modification, Here is how it should look.

We start by trimming the flat peg from the shoulder joint. Smoothening them out is next in line so we file them down.


You may now notice that the shoulder joint is no longer connected to the shoulder armor. Also, I changed my mind regarding the ball joint pieces we'll be using. The previous is small and for me, it doesn't quite look ok for a nice kit like this. so I decided to cut out the medium pieces for the ball joint.

We start the custom with the shoulder armor. This will make the shoulder fused with the ball joint like the shoulder's of the new kits Bandai released. First we cut a plastic plate the same size as the inner gap of the shoulder armor to make a cover.


Next, Drill a hole somewhere in the lower center of the plastic plate.

TEST FIT : Test fit how the plate cover would fit the shoulder armor with the ball joint.


If you're satisfied with it, glue it together, the plate cover to the armor and the ball joint to the plate cover. Take note, that the ball joint should go thru the plate cover exposing a peg for the shoulder joint.


TEST FIT : Insert the shoulder joint to the peg inside the shoulder armor.


STEP 7 : Main Body Modification. We now focus our attention to the main body and how to connect the modified arms. We begin by disassembling the main body.


Cut the pegs on each side, we don't need them anymore.


Next, cut through the main body to create a hole, big enough to fit the ball socket in it. Use a file as well to widen the gap and smoothen the edges out.


Make sure that the hole would be big enough for the socket. Continue filing down the edges to make the whole bigger.

TEST FIT : When you've achieved the exact size of the hole for the socket, try test fitting it. Do the same on the other side of the main body.


Don't forget the front piece of the main body. Trim it down as well to fit the socket. Do include the pegs and peg holes, they will hinder the socket we are inserting. Do it on both side as well.


TEST FIT : Close the main body with the ball socket inside the whole we created. If all goes well, you'd have something like that of the picture.

If you're good with the socket joint. Glue the joint to the main body for sturdiness.

TEST FIT : Reassemble the whole kit.

And it's done!!! better show you some review on the joints..
Shoulders now can....

move forwards and backwards..
up and down..

And the arms can now go all the way up....

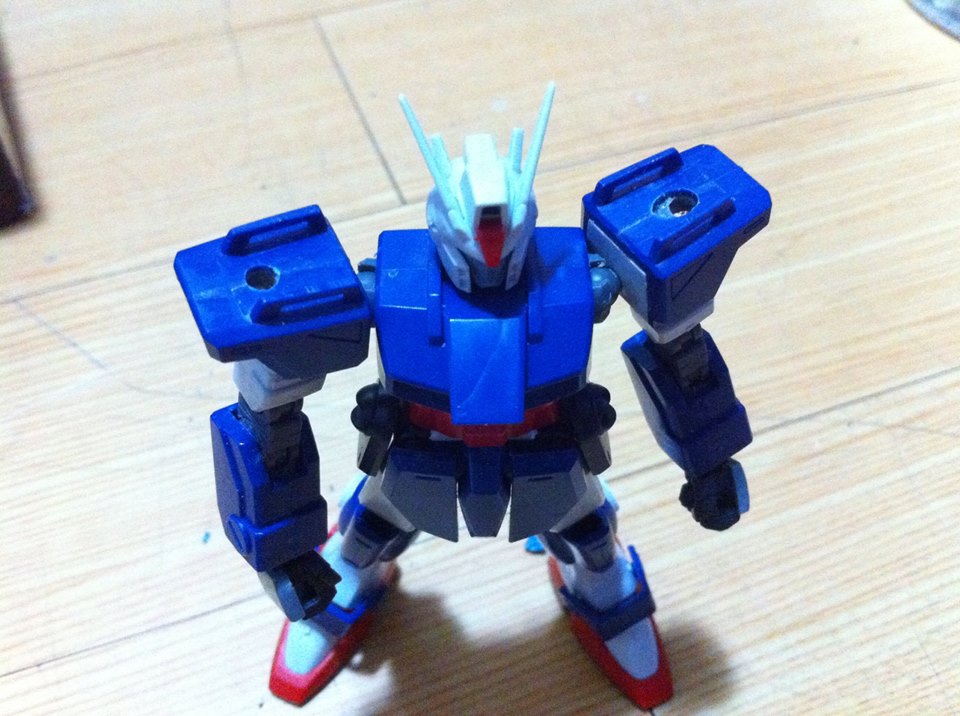
ACTION POSES!!!


For any questions or other issues you'd like me to address, you may message me thru:
Facebook: https://www.facebook.com/aro9nes
email: andrewnaynes@gmail.com
Until then... See ya!!!!
No comments:
Post a Comment