This entry is considered part of the restoration entries for old HG kits. The first two were the earlier two entries. A bit of info about this entry, we'll tackle more on the waist articulation. Yes, we did the shoulder-arm articulation, added leg articulation specifically to widen the leg stance. all we need to do is add articulation on the waist as well for a more dynamic, dramatic and lifelike poses.

Please do take note that we are still using HGBC Balden arm arms. We will use the large ball joint from the runner A2. Almost the same as what we used for the shoulders. Using the biggest ball joint gives the kit more stability and sturdiness.
so let's start!!!
Here's what you need.
Side cutters
pin vise (drill bit should be the same size as Bandai's pegs)
hobby knife
file
super glue (plastic cement if you prefer)

Basically, this the layout how the ball joint goes thru the main body and the waist.

STEP 1 : Peg Trimming. Concentrate on the waist first. Cut the peg that connects to the main body.


STEP 2 : Installation of Ball joint. Drill on the same spot were the peg was. Do use the same diameter as the peg of the ball joint.


STEP 3 : Ball socket trimming and clean up. Using your hobby knife, trim the edges of it so it won't bother with the articulation. We will give it freedom to move around.


Do it on the other side as well.

STEP 4 : Main body adjustment. We'll give space for the main body to accommodate the ball socket. Widen the gap by trimming it with your side cutters or hobby knife, which ever you prefer.


When the hole is big enough for a snugly fit, glue the ball socket in place.


TEST FIT : Test fit the main body with the waist connected thru the ball joint.

forwards

backwards

and side to side


TEST FIT : Reassemble the whole kit. See if the articulation we added would hinder anything.

forwards
backwards

and side to side


And we're done!!!
Now applying what we did from the previous two entries involving the shoulder and leg articulation, you should be able to do this now to your old HG kit.

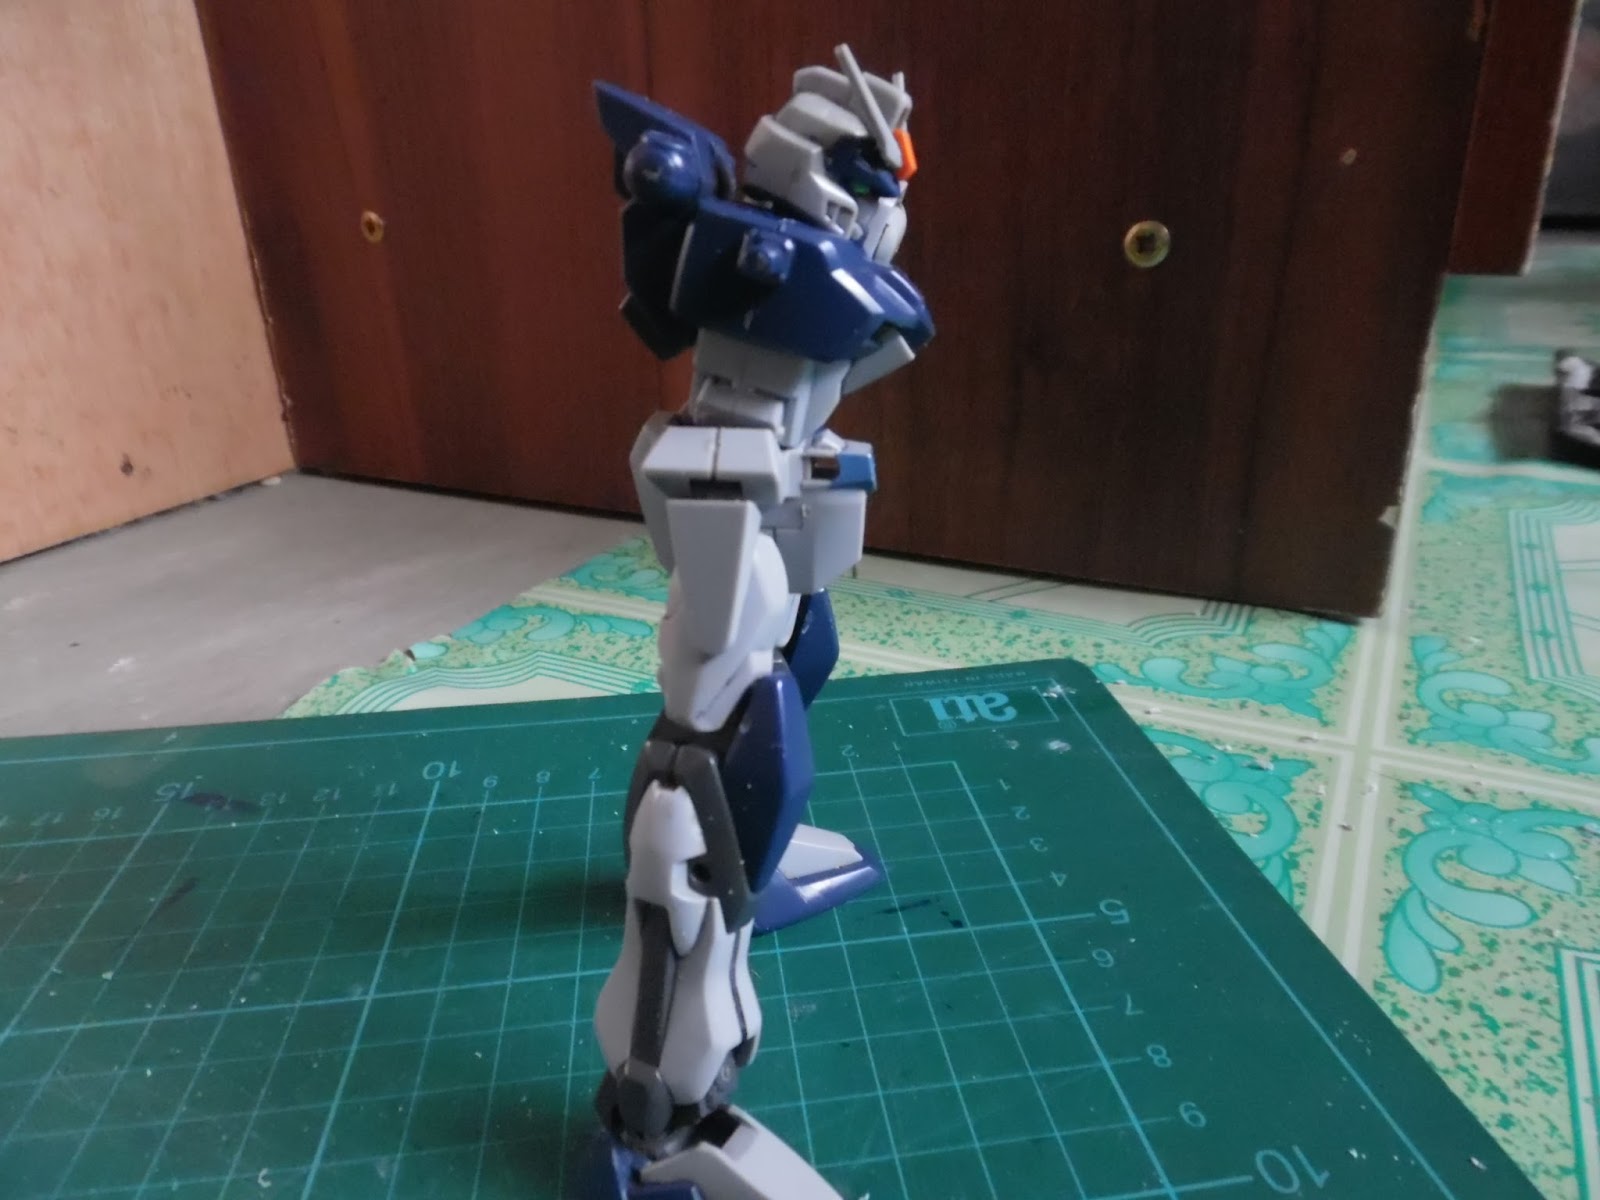
ACTION POSE!!!
Play around with the added move-ability and pose-ability of your beloved kits.


For any questions or other issues you'd like me to address, you may message me thru:
Facebook: https://www.facebook.com/aro9nes
email: andrewnaynes@gmail.com
No comments:
Post a Comment