Using Bandai's HG Build Custom Gunpla Battle Arms,we'll be using some parts as hard points for alternate or options parts. This process is not limited to old HG kits but also applicable to the modern HG kits, if you want to add more options to your custom work.
So, here goes :D
Here's what you need.
Side cutters
hobby knife
file
super glue (plastic cement if you prefer)
Plastic Plates (HIPS, mostly the thinnest you got, 0.3mm)
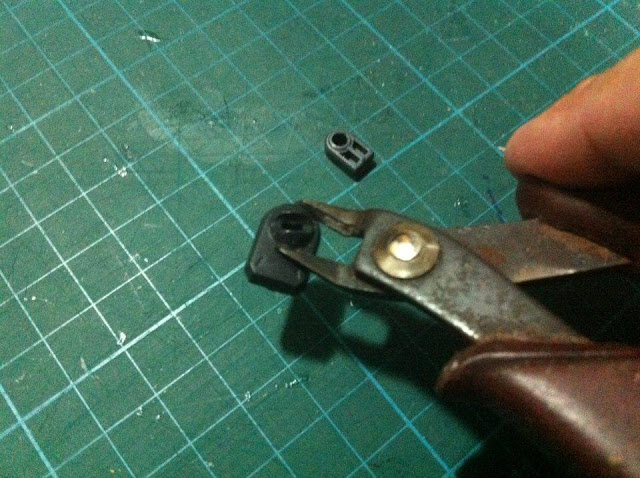
I'll start with specifying these parts. Parts B2 and B3. These are the parts we will be working on.
When I got the kit Gunpla Battle Arms, I noticed that the joint made from the parts B2 & B3, have a hole that has the same diameter as the pegs Bandai use for most of their add-on parts. Then I got an idea to try and trim some parts of B2 or B3 and attached it on a part. Surprisingly, it works, if not well, GREAT!
STEP 1 : Still working on my project, HG Doppel Dagger, I then disassembled the arms. I'm planning to add a hard point on the elbow so at least he can equip option parts on his fore arm or elbow.
We'll create an opening to cater the size of the part B3. Do file down some of the trimmings for a perfect fit.
TEST FIT : Reassembled the arms and fitted the hard point as the new elbow armor.
Once satisfied, glue it down to secure the new elbow armor. One tip though, try to glue the hard point on only one side of the armor piece for the arm, so once in a while you can open the arm up, in case anything happens. Do use some plastic plates if needed to secure the hard point.
Here's both left and right arm with new elbow armors & hard points.
TEST FIT : Reassembled the whole kit and try using the new hard points.
with HD builder parts MS Sword 01
STEP 2 : The next step, we'll now add a hard point on the side skirts. So we detached the side skirt and worked on it this time.
Using your side cutter, trim the side skirt and flatten it out so the part B3 may be attached as simple as gluing it on.
TEST FIT : Reassemble the side skirts and try attaching some add-on parts on it.
ACTION POSE!!
Play around and see how the new hard points work out.
For any questions or other issues you'd like me to address, you may message me thru:
Facebook: https://www.facebook.com/aro9nes
email: andrewnaynes@gmail.com


No comments:
Post a Comment